
Introduction
Lately I find myself, more and more often, to propose a development environment where you can easily test the Javascript code needed to produce graphs and data representation. Personally I use Aptana IDE as a development environment and use WAMP (for Windows) and LAMP (for Linux). But generally when I write various tutorials, articles and presentations, I prefer to refer to jsFiddle: an online environment in which you can test and save the JavaScript code in real time, defining the related CSS statements and HTML tags.
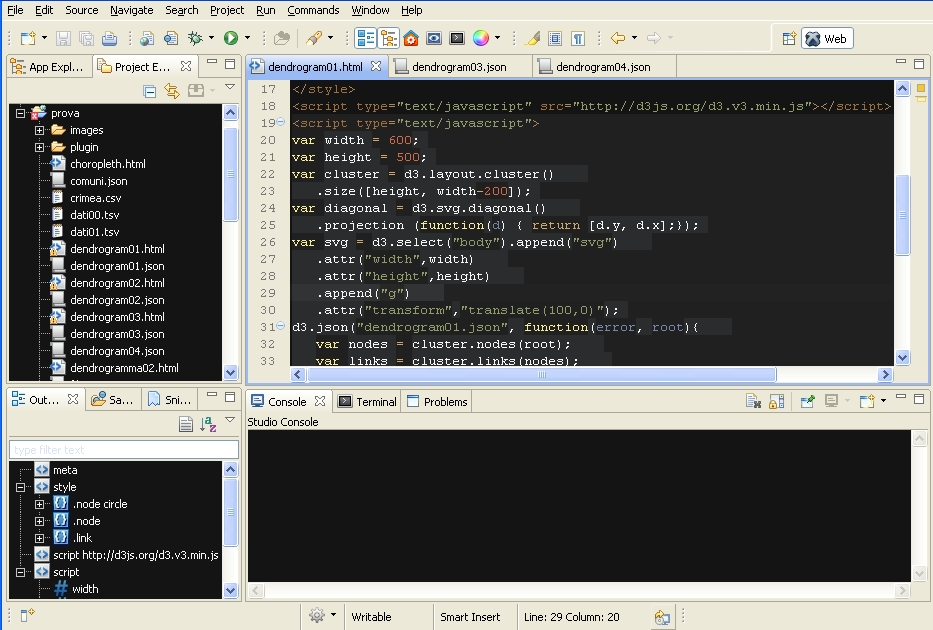
Fig.1: Aptana Studio IDE
But those who use jsFiddle, and above all, who does it to test various examples of the D3 library, soon enough, will find a problem that is not so trivial to overcome. D3 often makes use of external files (JSON, CSV, TSV, etc.) to load the data which will then be represented by a graph, but at the present time, jsFiddle does not include the importing feature of external files.
Since jsFiddle is an online environment, the best answer to this problem is to load data files stored in GitHub. In this way, you have a “cloud” environment in which both the code, data and also test environment itself, are made available to all those who have a browser, without the slightest regard to install a Web Server, a development environment such as Aptana, avoiding to copy huge files containing many rows of data and code.
But let’s look in more detail all these aspects.
jsFiddle
jsFiddle is an online application that allows developers to manage quickly and separately the three basic elements on which the Web development is based:
- HTML
- JavaScript
- CSS
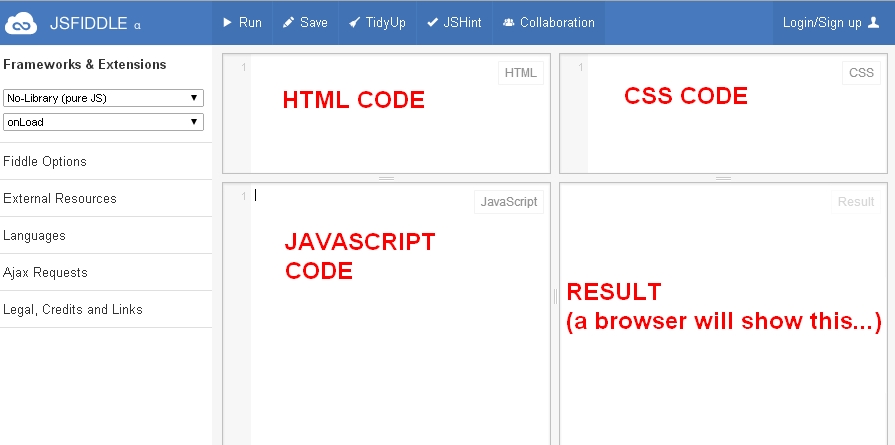
Fig.2: jsFiddle
Writing separately the three parts of the code of a generic HTML page, you can test in real time what you are writing, all on the same page. Furthermore, the results of our work can then be saved for later use, and even shared in the network.
In fact, lately in the internet there are more and more references and links to examples available on jsFiddle. This makes jsFiddle particularly suitable for authors of tutorials and examples that make use of JavaScript code. Copying the link of a specific example developed with jsFiddle within your post, you allow the reader to see in real time the result of what is being described. Not only that, the reader can test it by running it and modifying it in turn, so as to better understand the code that is described in the article.
Example: the circular dendrogram using jsFiddle
In the example described in the article “The circular dendrograms“, the d3.json() function loads the data structure contained within an external JSON file. This is usually normal and standard practice for the development of a web page loaded on a Web Server. Whereas if you use jsFiddle to test the code described in the article, it is necessary to make some minor modifications.
The simplest approach is that you can generally find in all the examples developed in jsFiddle availble on Internet. This approach consists in defining the contents of the JSON file within a variable defined within the pages jsFiddle.
In our case, (see the example directly in jsFiddle) your approach will be to define the structure of the dendrogram as a JSON object in the variable root. (do not forget the semicolon at the end !!!)
var root = {
  "name": "root",
  "children": [
    {
       "name": "parent A",
       "children": [
            {"name": "child A1"},
            {"name": "child A2"},
            {"name": "child A3"},
            {"name": "child A4"},
            {"name": "child A5"},
            {"name": "child A6"}
       ]
    },{
       "name": "parent B",
       "children": [
            {"name": "child B1"},
            {"name": "child B2"},
            {"name": "child B3"},
            {"name": "child B4"},
            {"name": "child B5"},
            {"name": "child B6"},
            {"name": "child B7"},
            {"name": "child B8"}
       ]
    },{
        "name": "parent C",
        "children": [
            {"name": "child C1"},
            {"name": "child C2"},
            {"name": "child C3"},
            {"name": "child C4"}
        ]
    }
    ]
};
You will also need to delete (or comment out) the call to the d3.json() function and the final brace.
//d3.json("dendrogram02.json", function(error, root){
...
//});
The end result shown on the jsFiddle page will be identical to what you would have on any browser.
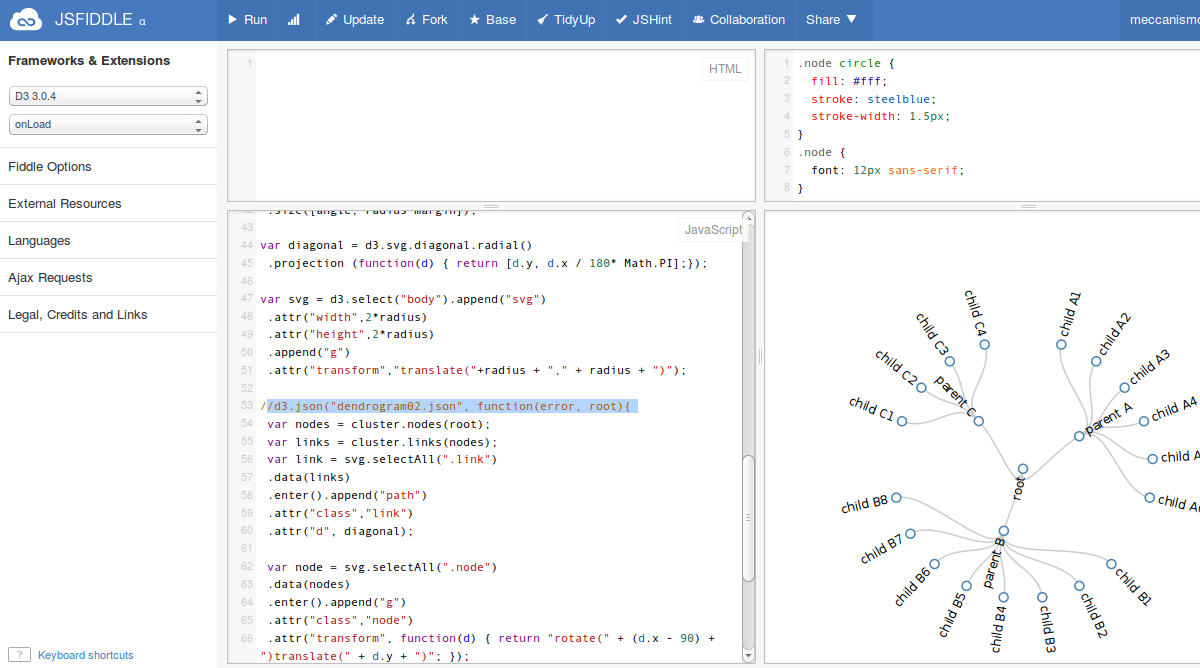
Fig.3: a jsFiddle example
GitHub
![]()
Creating an online repository on GitHub
From the website of GitHub.com you can create a new repository
Creating your local repository with Git
Now, this series of operations will be performed from the command line. You create a directory that will be the local version of the repository that you are going to create.
> mkdir d3.examples
within this new directory you launch the command init git
> cd ∼/d3.examples
> git init
Copy the file containing the JSON data structure of the dendrogram dendrogram02.json within this directory. Now you have to report the just copied filed to git.
> git add dendrogram02.json
Now is the time to make a commit
> git commit -m “Add first json”
Now you need to connect the local repository to the repository created on GitHub
> git remote add origin https://github.com/meccanismocomplesso/d3.examples.git
Instead, if you want to modify an existing connection:
> git remote set-url origin https://github.com/meccanismocomplesso/d3.examples.git
If you want to get a list of remote origins of your local repository, type the following command:
> git remote -v
Finally, upload the file from the local repository to the repository on GitHub:
> git push -u origin master
Just out of curiosity, if you need to remove a file from Github, first remove it from the local repository,
> git rm file.json
and then perform the above steps of commit and upload again.
> git commit -m “Remove JSON”
> git push -u origin master
References
To solve the need to read data files stored within GitHub making use of jsFiddle I made reference to the Zalun’s example:
GitHub : https://github.com/zalun/jsFiddleGithubDemo/tree/master/Demo
jsFiddle: http://jsfiddle.net/gh/get/mootools/1.2/zalun/jsFiddleGithubDemo/tree/master/Demo/
who has developed a very good example to understand the mechanisms that underlie the data transfer between GitHub and jsFiddle.
But above all, the example of LordBaco has proved to be of fundamental importance for the final realization of the example discussed in this article.
jsFiddle: http://jsfiddle.net/lordbaco/8KDg6/
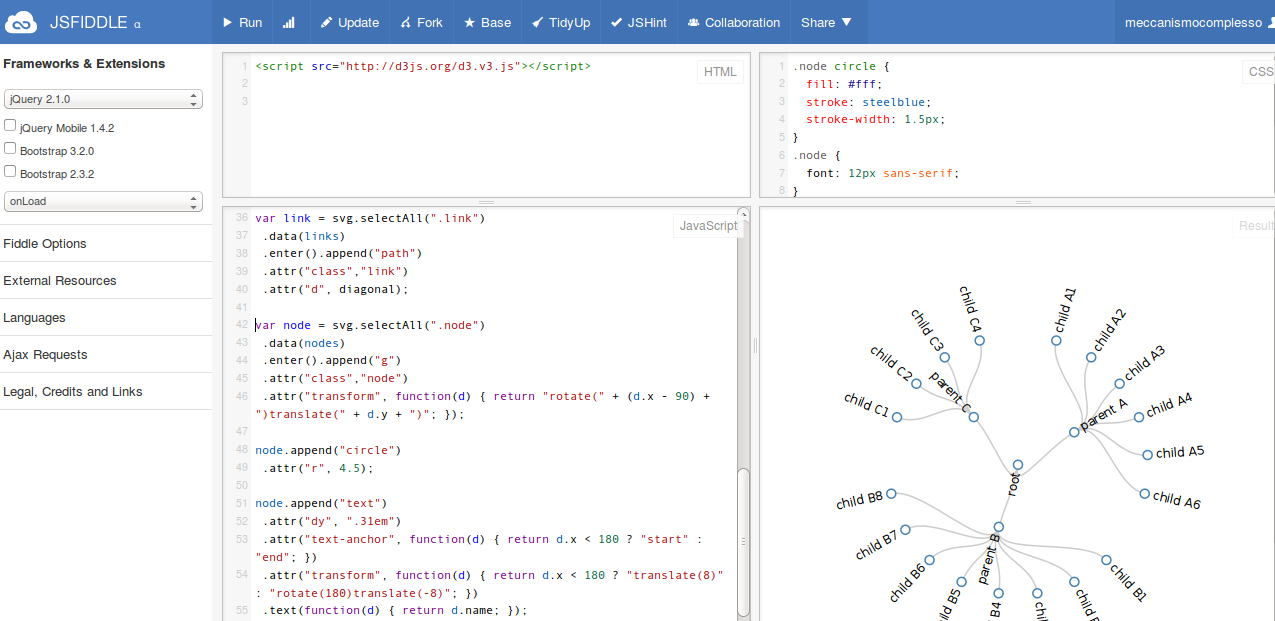
Example: the circular dendrogram with the JSON file on GitHub
From the above examples, the final step is to provide an example using the D3 library which actually makes use of JSON data files previously stored in GitHub.
GitHub: https://github.com/meccanismocomplesso/d3.examples
jsFiddle: http://jsfiddle.net/meccanismocomplesso/yLkyt8ow/
This is the code:
var radius = 250;
var margin = 120;
var angle = 360;
var root;
var cluster = d3.layout.cluster()
 .size([angle, radius-margin]);

var diagonal = d3.svg.diagonal.radial()
 .projection (function(d) { return [d.y, d.x / 180* Math.PI];});

var svg = d3.select("body").append("svg")
 .attr("width",2*radius)
 .attr("height",2*radius)
 .append("g")
 .attr("transform","translate("+radius + "," + radius + ")");

var url = '/gh/get/response.json/meccanismocomplesso/d3.examples/tree/master/';

d3.xhr(url)
    .header("X-Requested-With", "XMLHttpRequest")
    .header("Content-Type", "application/x-www-form-urlencoded")
    .post("delay=1", function (error, request) {
    if (error) return console.warn(error.responseText);
    root =  jQuery.parseJSON( request.responseText);
//});

//d3.json("dendrogram02.json", function(error, root){
 var nodes = cluster.nodes(root);
 var links = cluster.links(nodes);

var link = svg.selectAll(".link")
 .data(links)
 .enter().append("path")
 .attr("class","link")
 .attr("d", diagonal);

var node = svg.selectAll(".node")
 .data(nodes)
 .enter().append("g")
 .attr("class","node")
 .attr("transform", function(d) { return "rotate(" + (d.x - 90) + ")translate(" + d.y + ")"; });

node.append("circle")
 .attr("r", 4.5);

node.append("text")
 .attr("dy", ".31em")
 .attr("text-anchor", function(d) { return d.x < 180 ? "start" : "end"; })
 .attr("transform", function(d) { return d.x < 180 ? "translate(8)" : "rotate(180)translate(-8)"; })
 .text(function(d) { return d.name; });
});
The result is identical to the previous one except that this time you can upload any JSON file stored in GitHub.
Conclusions
The previous example can be immediately extended to datasets in CSV and TSV. The mechanism is almost the same.
Google+


