Vue 2 + Firebase: How to add Firebase Social Sign In into your Vue application

In this tutorial, we will see how to quickly add the Firebase Social Sign In feature into your Vue application.
I previously wrote a tutorial on how to build a Vue app with Firebase authentication system, and if you didn’t read it before, I advise you to quickly take a look at it, since I will use it as a base for this tutorial.
If you already have, then you can consider this new one like the part II ;)
What Is Social Sign In?
Social Login is single sign-on for end users. Using existing login information from a social network provider like Facebook, Twitter, or Google, the user can sign into a third party website instead of creating a new account specifically for that website. This simplifies registrations and logins for end users.
from auth0.com: https://auth0.com/learn/social-login/
In summary, Social Sign In allows you to connect to different applications without having to create each time a new account.
Firebase Social Sign In feature
Firebase comes with a powerful authentication system. This system allows you to either create account manually, with the traditional email/password combination (as shown in my previous tutorial), or use some pre-defined methods to authenticate your users with OAuth into your application. (And if you want, with Firebase, you can even authenticate your users using their phone numbers!)
The providers available are Google, Facebook, Twitter, Github and Play Games.
In this tutorial, we will use the Google social sign-in provider as an example, since the other providers require to have specific API keys. But don’t be afraid, all the methods are very similar, so if you implement the Social Sign In feature with one provider, you’ll be able to easily replicate it with all other providers!
Let’s start!
As said in the introduction, for this tutorial, we will continue from where we left in How to build a Vue app with Firebase authentication system in 15 minutes.
If you don’t want to go over the full tutorial, that’s fine, here is a small recap:
We created a Vue application that contains three views, two (Login view and Sign Up view) that we can access only without authentication, and one (Home view) that we can access only with authentication.
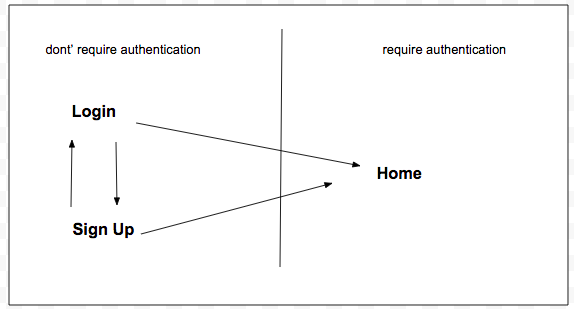
Using Firebase and vue-router, we implemented the navigation of the app. The Login view allows you to connect to your application, and the Sign Up view allows you to create an account, using email/password combination. After login successfully or after a new account creation, the app redirect you to the authenticated part of the app, the Home view. If you try to access a view that requires authentication without being actually authenticated, it redirects you to the Login view, and vice versa.
All the implementation of the account creation, the login with email/password, and the navigation between views is already done. You can find all the source in: https://github.com/CaptainYouz/vue-firebase-tutorial.
LET’S WRITE SOME CODE!
For this new tutorial, we will add the Social Sign In feature of Firebase in the Login view.
To do so, there is two possible solutions. The first one, is to create a simple html button and trigger the Firebase social sign in method on click, and the second one, is to use FirebaseUI.
FirebaseUI is an open-source JavaScript library for Web that provides simple, customizable UI bindings on top of Firebase SDKs.
documentation: https://firebase.google.com/docs/auth/web/firebaseui
For this tutorial, we will go manually and do the first solution, since we already have everything in place for our Login process.
Step One: Adding the Social Sign In button to the Login view
1–1 Create the html/css
Let’s clone our application from Github and install all the dependencies by running npm install.
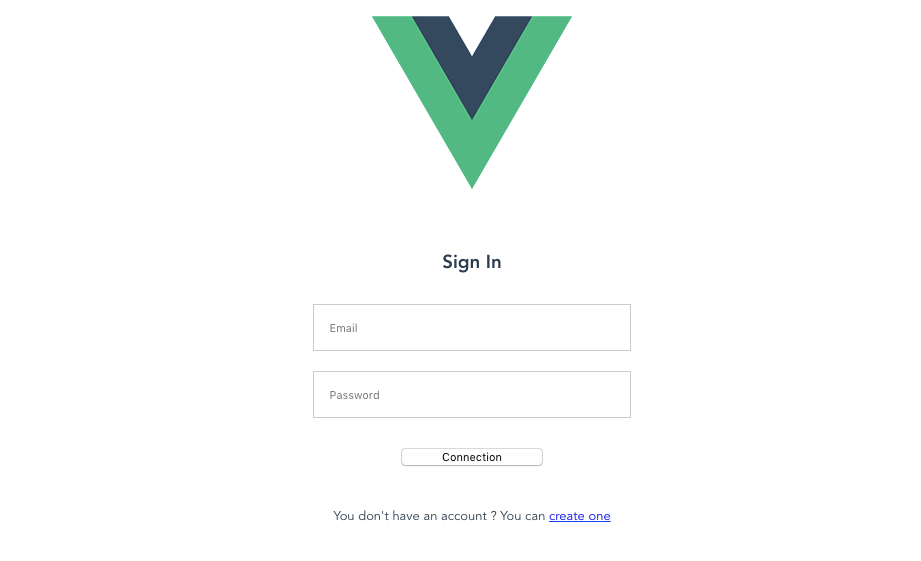
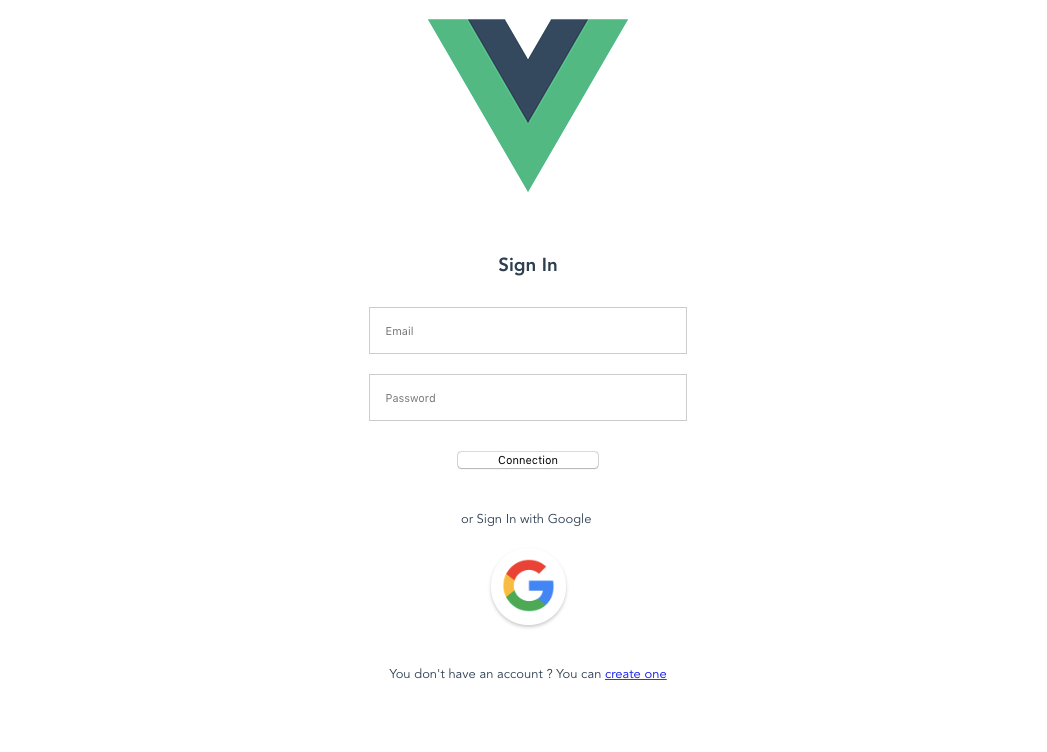
When everything is installed, let’s start our application by running npm run start , open the app in our web browser (url: http://localhost:8080) and take a look at the current Login view. We should have something like this:
Now, let’s open our Login component in src/views/Login.vue and add the part where our Social Sign In button will be displayed.
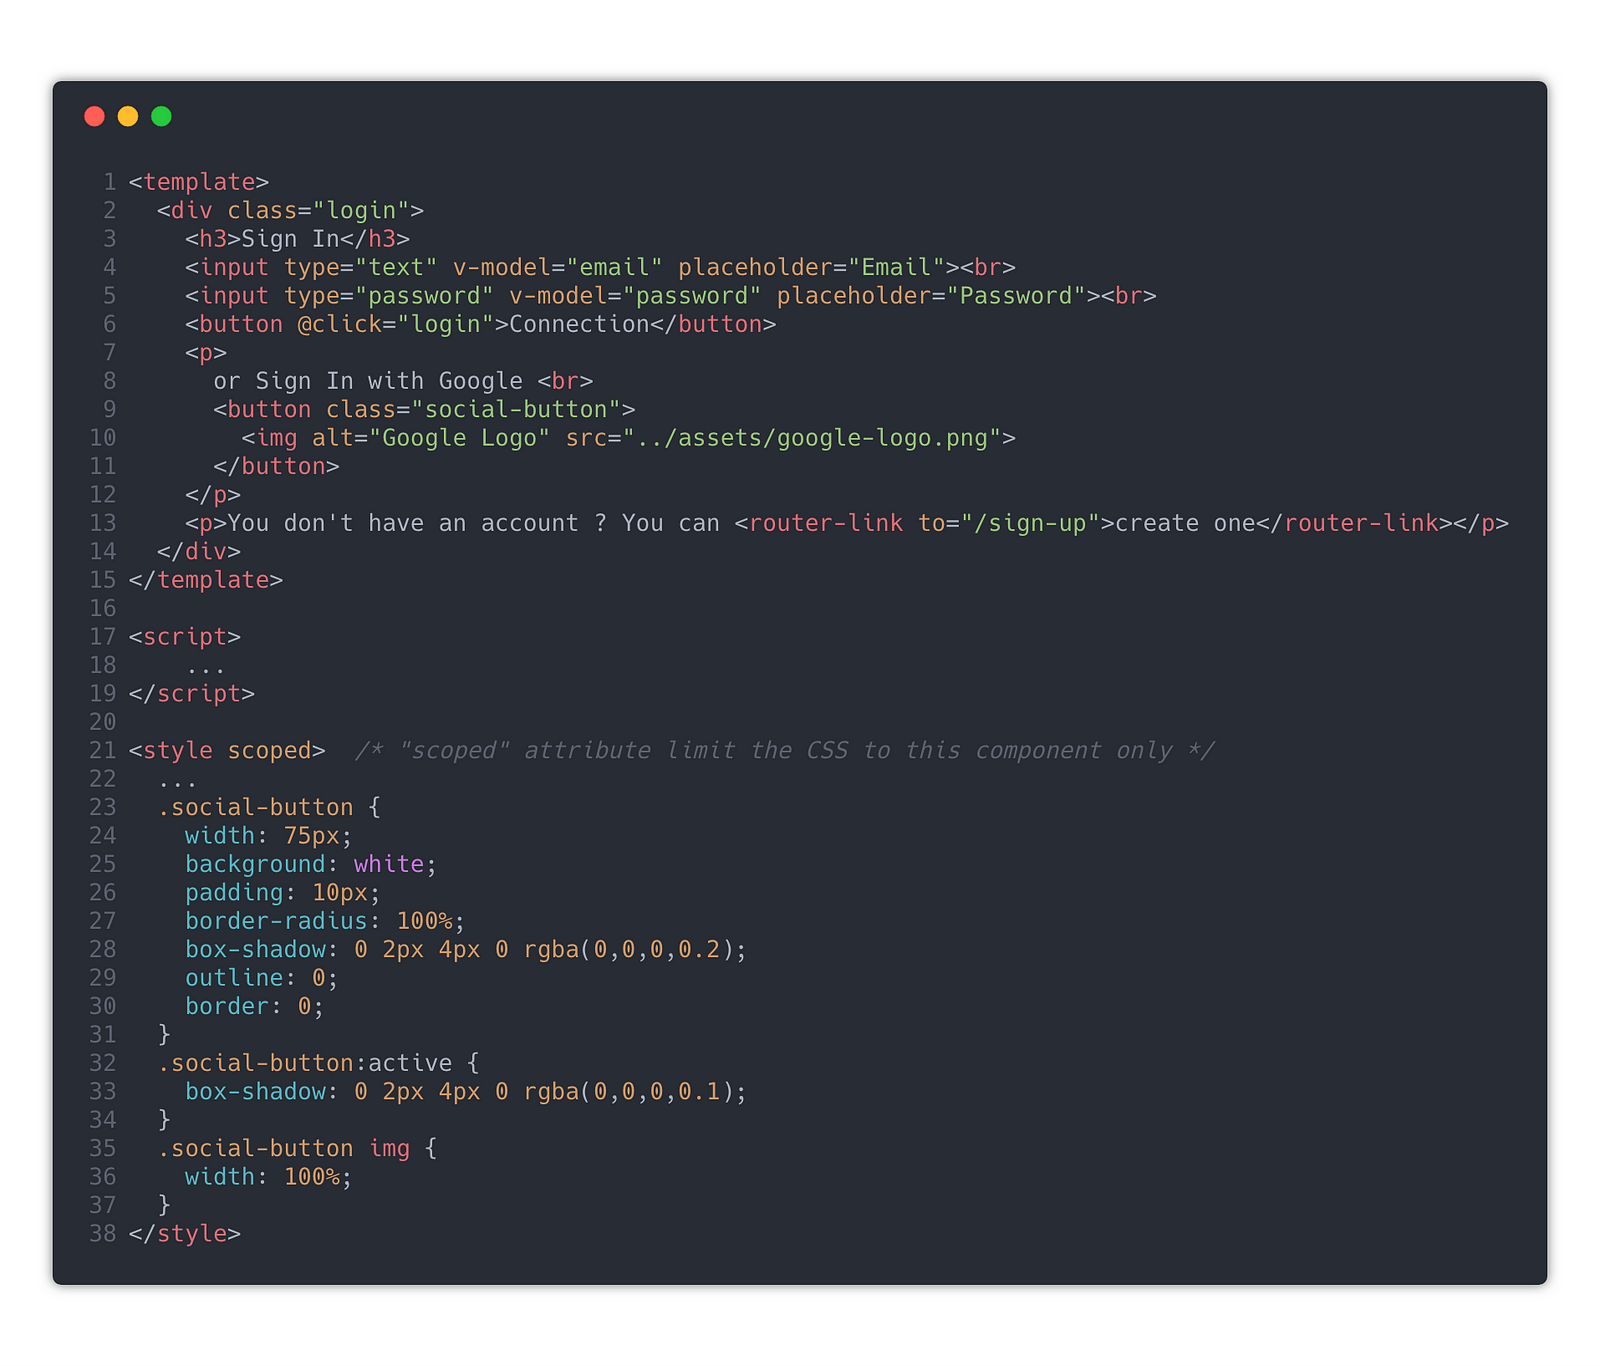
I’ve created a button with an image inside, image that I have download here and saved inside the /assets directory under the name google-logo.png .
Also, I’ve created some style for the beauty of our social sign in button ;)
So now, or Login view should look like this:
Now that we have everything ready in our Login view, let’s add the logic to login into our app with a Google account.
Step Two: Connect with a Google account using Firebase Authentication
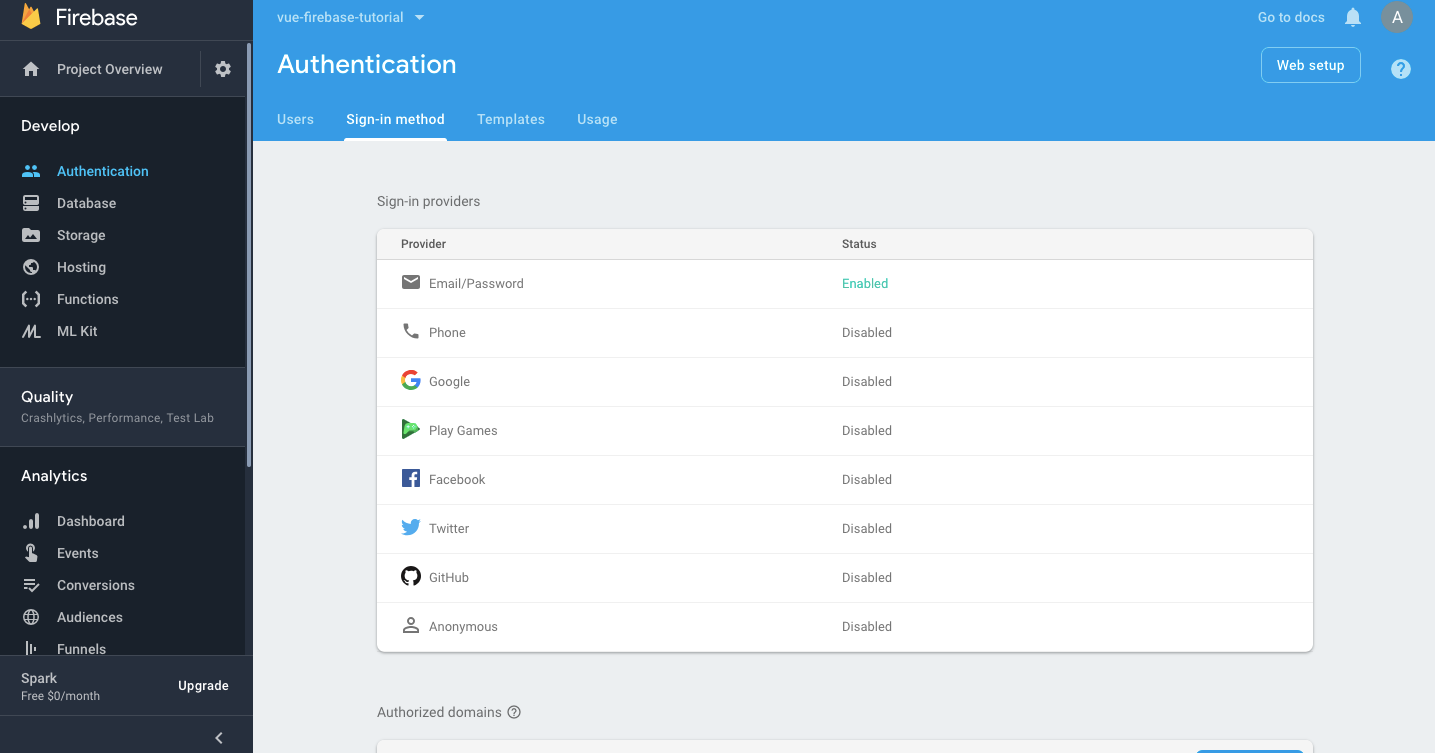
To do so, you’ll first need to enable Social Sign In authentication with Google provider in your Firebase app. Go to console.firebase.google.com and select your project, then go to the authentication view and select the ‘Sign-In Method’ tab.
Then, in this view, select the Google provider and enable it.
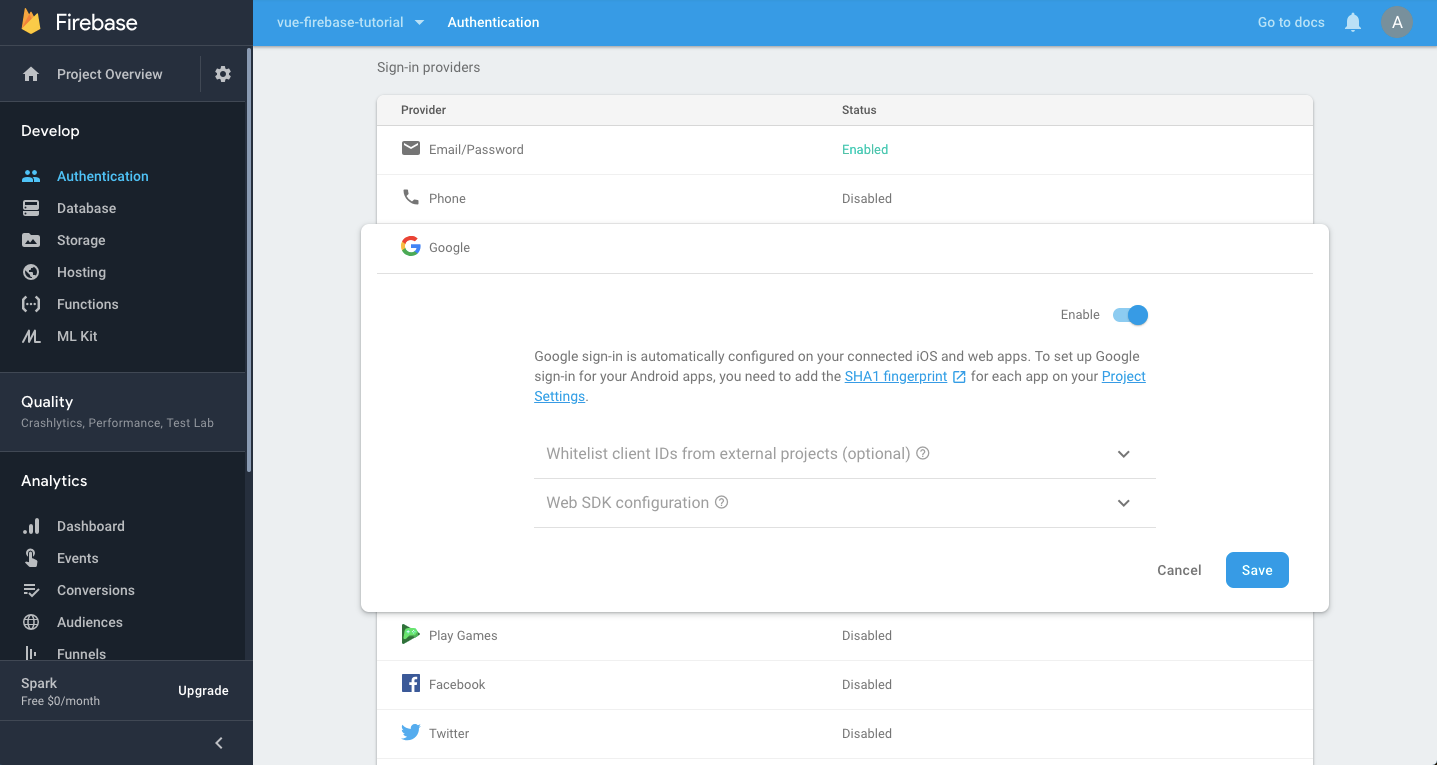
click on Save and voila! You now have your Firebase project ready to authenticate users using their Google accounts. Let’s now see how to implement the code.
2–1 Add the Firebase method
To connect using Social Sign In, first of all, you’ll need to get back the corresponding social provider you want to login with. In our case, as said before, we are going to use Google provider. To get back the Google provider with Firebase, we are going to use a Firebase method of the auth object, called GoogleAuthProvider (doc: https://firebase.google.com/docs/reference/js/firebase.auth.GoogleAuthProvider).
Then, we’ll need our users to sign in with this provider, and with Firebase, you can do so either by opening a pop-up window or by redirecting to a sign-in page. To have more information about those two solutions, you can check the Firebase doc here (part 5): https://firebase.google.com/docs/auth/web/google-signin.
In our case, since we want to do an action (redirecting) after the login, we are going to use the pop up method.
The method to open a popup is called signInWithPopup and is very similar to our previous signInWithEmailAndPassword . The api documentation says:
signInWithPopup(provider) returns firebase.Promise containing non-null firebase.auth.UserCredential
Authenticates a Firebase client using a popup-based OAuth authentication flow.
If succeeds, returns the signed in user along with the provider's credential. If sign in was unsuccessful, returns an error object containing additional information about the error.
from: https://firebase.google.com/docs/reference/js/firebase.auth.Auth
So, that’s perfect for our use case. Now let’s translate this into code. In our Login.vue file:
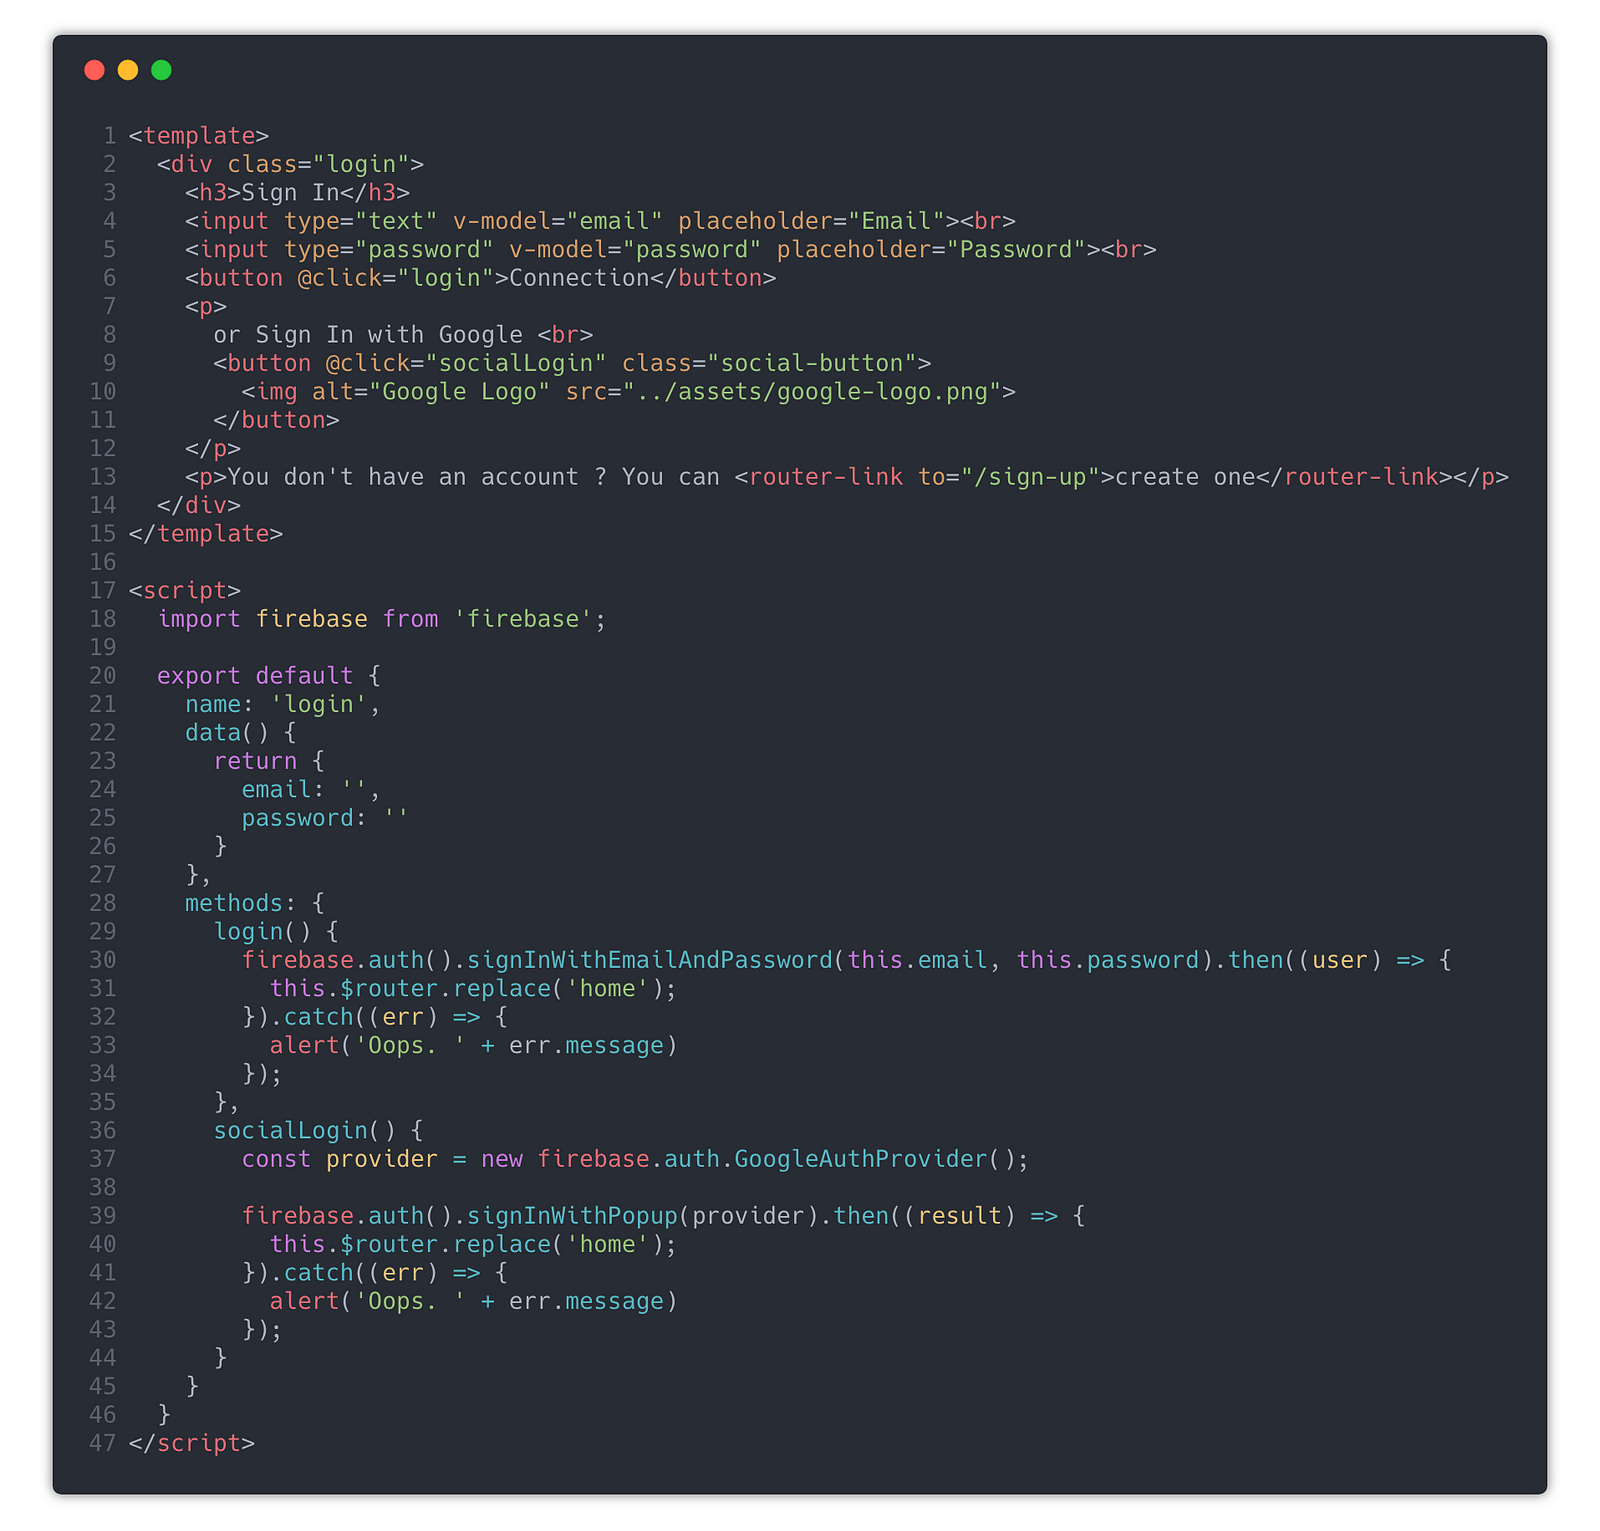
We attach the click event of our Google button to the socialLogin method. In this method, as said before, we first get back an instance of the Google provider object, then we authenticate users using the signInWithPopup method.
The callback for our success response is a simple function that redirects the user to the Home view. (The result parameter contains information about the user.) In this case, the user has successfully login with his Google account.
If something went wrong during the social login, in our error callback, we display the error message in an alert (the catch function). To know more about the type of possible error of social sign in, you can check the doc here: https://firebase.google.com/docs/reference/js/firebase.auth.Auth#signInWithPopup
You can also notice that the success and error callbacks are exactly the same as the ones in our signInWithEmailAndPassword. If your app logic is the same after login with email/password and social account, you can even factorize this code and use the same callback functions for both signInWithEmailAndPassword and signInWithPopup.
Now, if you click on the Google button we created before, you should have the Google Authentication popup open. After choosing your Google account, the popup should disappear and you should be redirect to the home view.
And that is basically it! You have now authenticated into your app using Social Sign In. Pretty simple, right?
You can also add option to your Social Sign In process, but that depends of the provider you choose. For the Google provider, you can have all information in the documentation: https://firebase.google.com/docs/auth/web/google-signin.
Other Social providers
What if you need to add more social providers ? Well, with Firebase, it’s pretty much the same as we did for the Google provider. The only differences is that, first, when you will enable the provider in Firebase (beginning of step two), you will be required to add your API keys, and second, you’ll need to get back the corresponding provider (but don’t worry, Firebase have all the required methods for this).
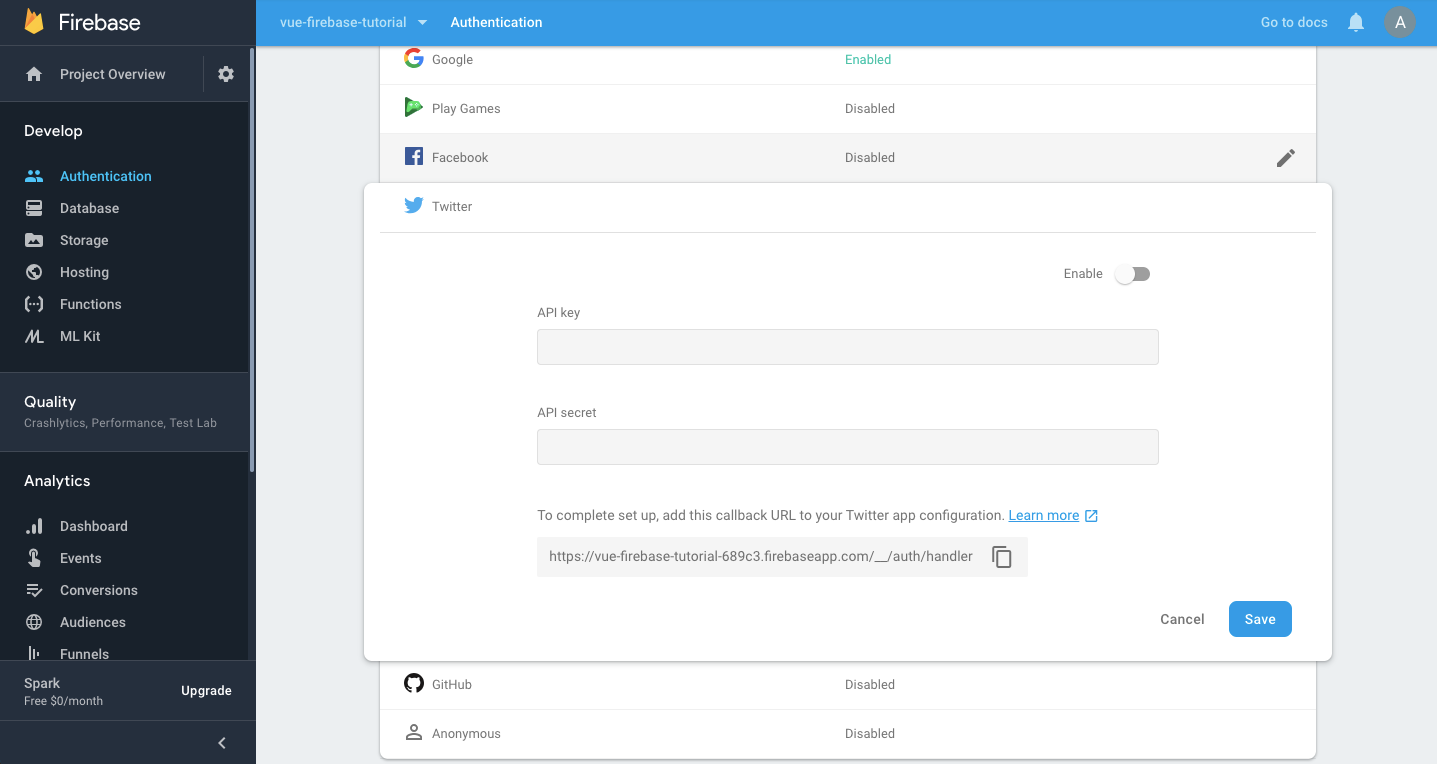
To have API keys, you generally need to create an app with the social provider you want to use. If you want for example to add Twitter Social Sign In, everything about how to get back API keys and create an app is explained in their documentation: https://developer.twitter.com/en/docs/basics/authentication/overview/oauth.html
Also, Firebase have a documentation page for each social provider (Twitter: https://firebase.google.com/docs/auth/web/twitter-login for instance).
The End
We now have a small Vue app using Firebase authentication system, either with email/password or OAuth !
All the sources are available on Github in the social-sign-in branch: https://github.com/captainyouz/vue-firebase-tutorial/tree/social-sign-in.
Anas.